Checkpoints
Add checkpoints
Create the checkpoints guards scan in each building, set where they are, and edit, move or delete them later.
Updated October 5, 2026
On this page
A checkpoint is a spot inside a building that guards must visit, such as an entrance, a stairwell or a loading dock. Each checkpoint has its own code, and its QR code is made from that code. You need at least one building first.
-
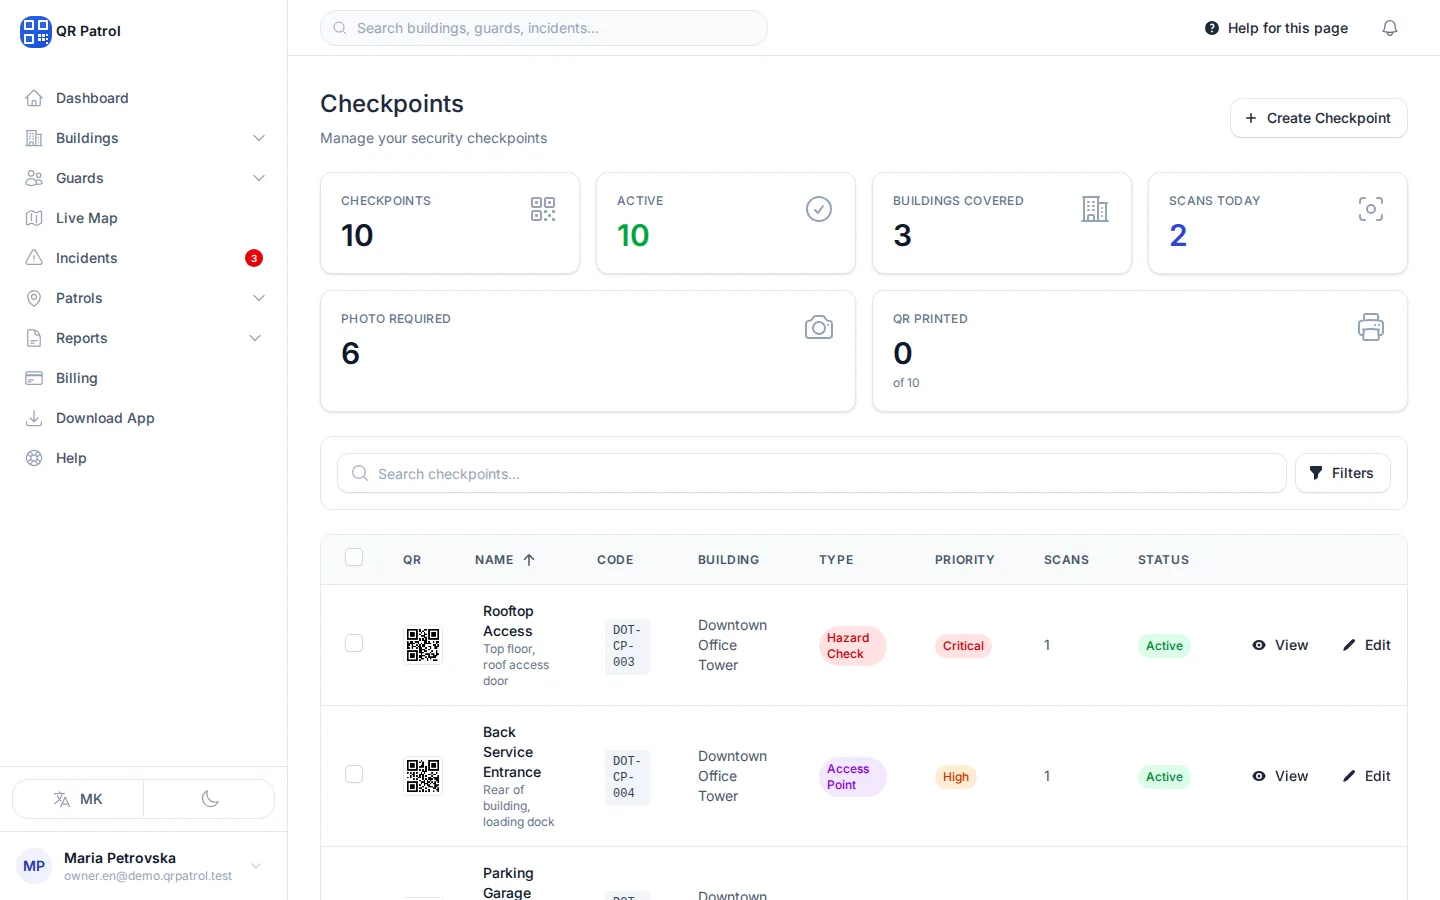
Click Create Checkpoint.
-
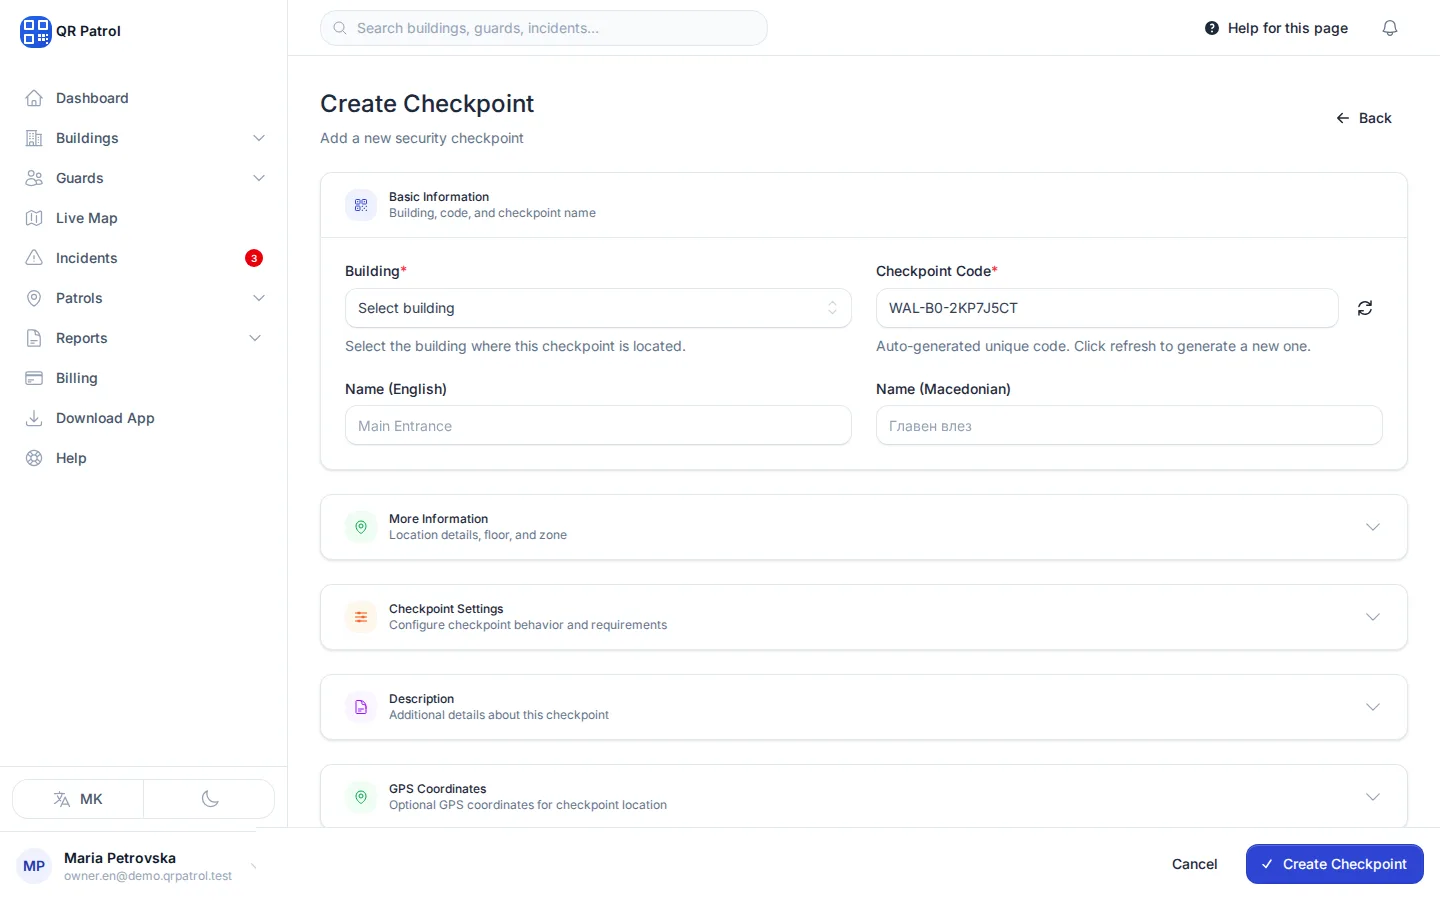
Under Building, pick where the checkpoint is.
-
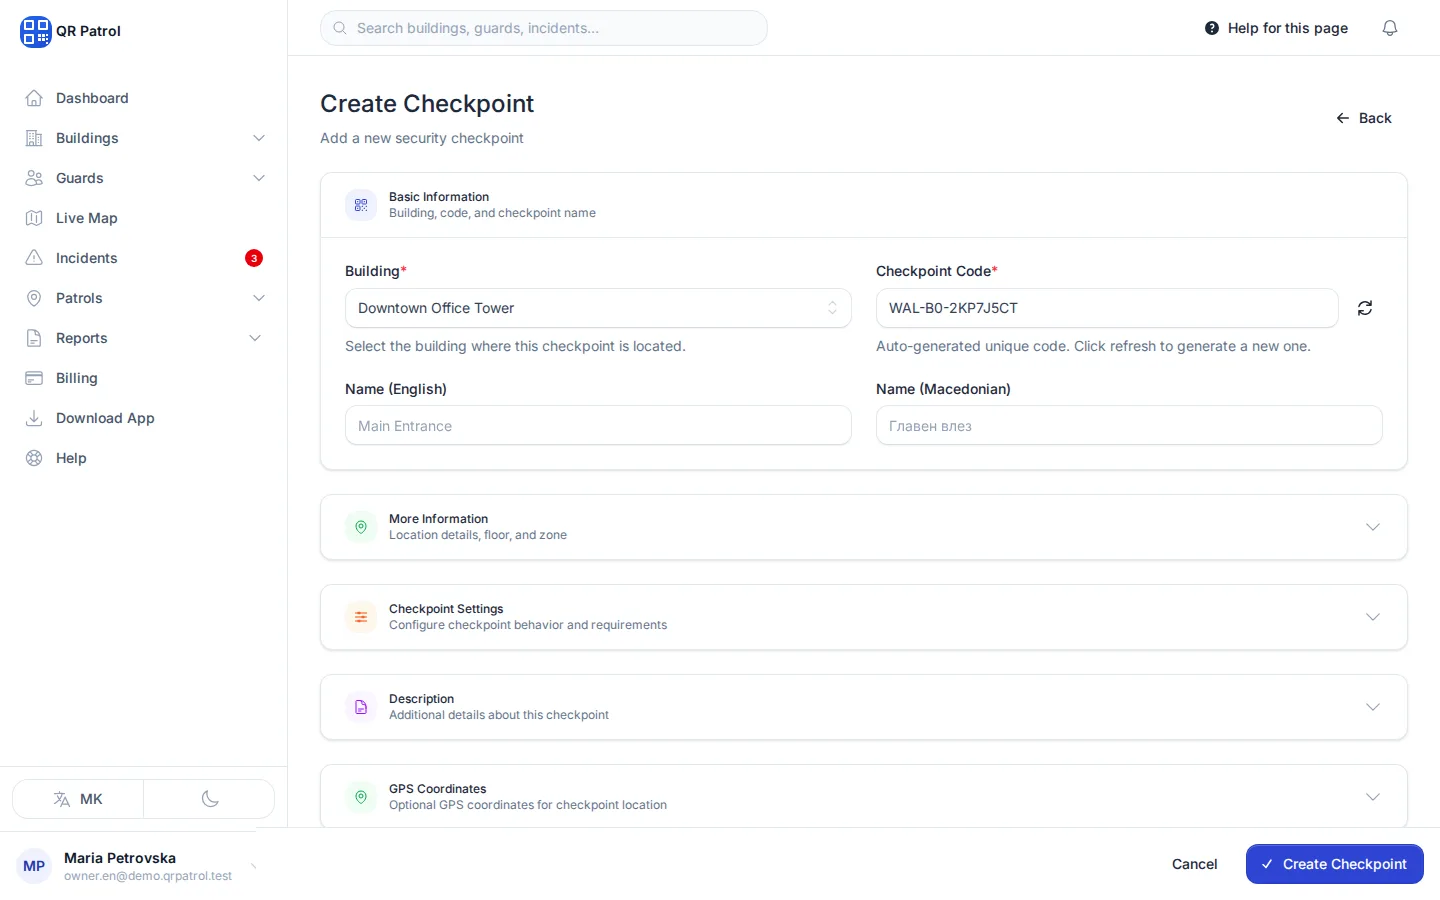
The Checkpoint Code is filled in for you. It is what the QR code contains.
-
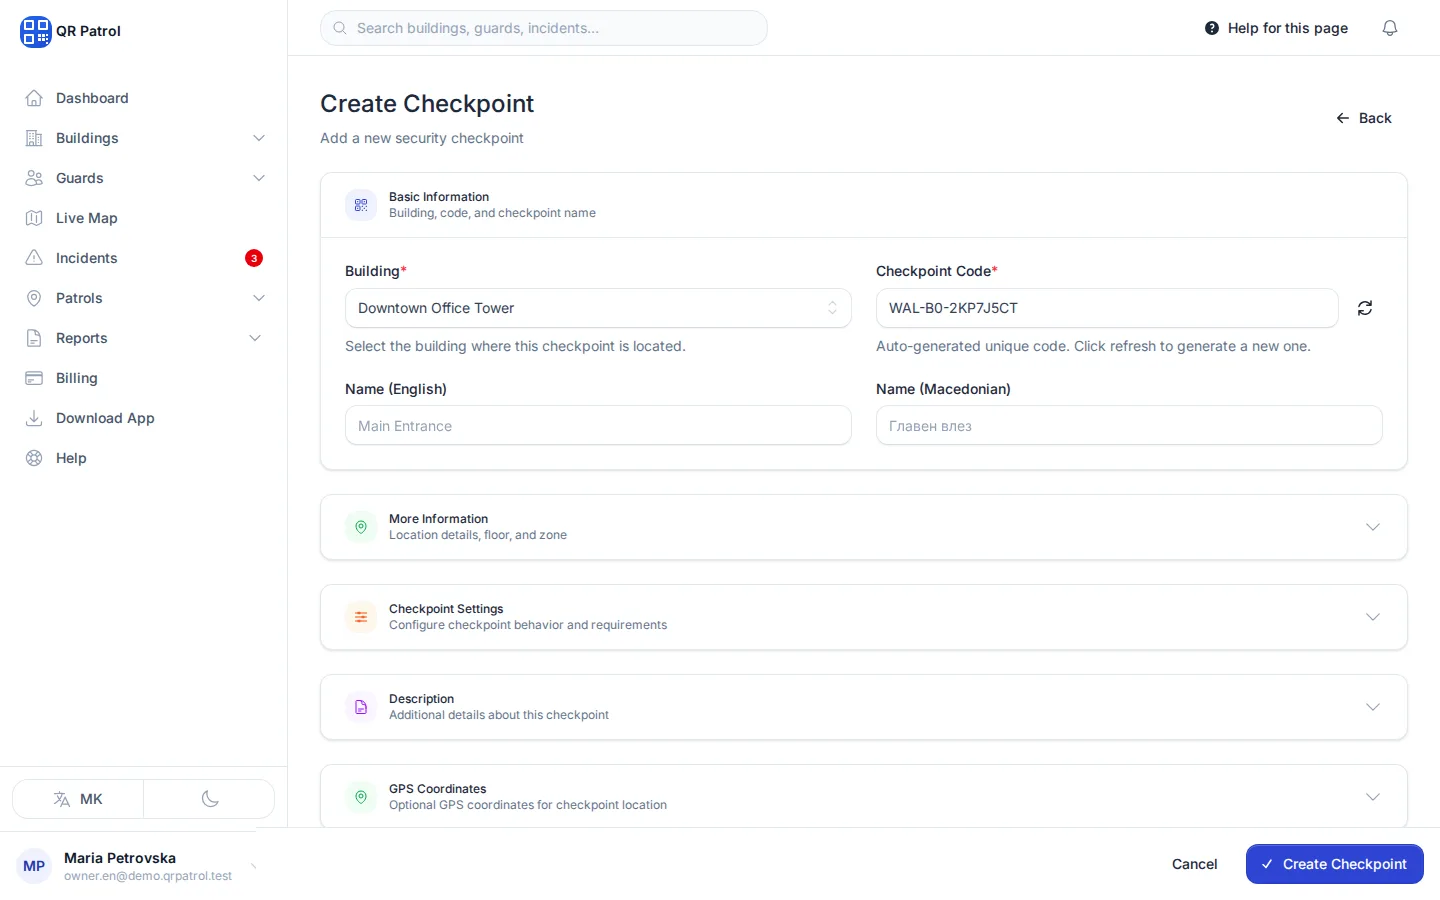
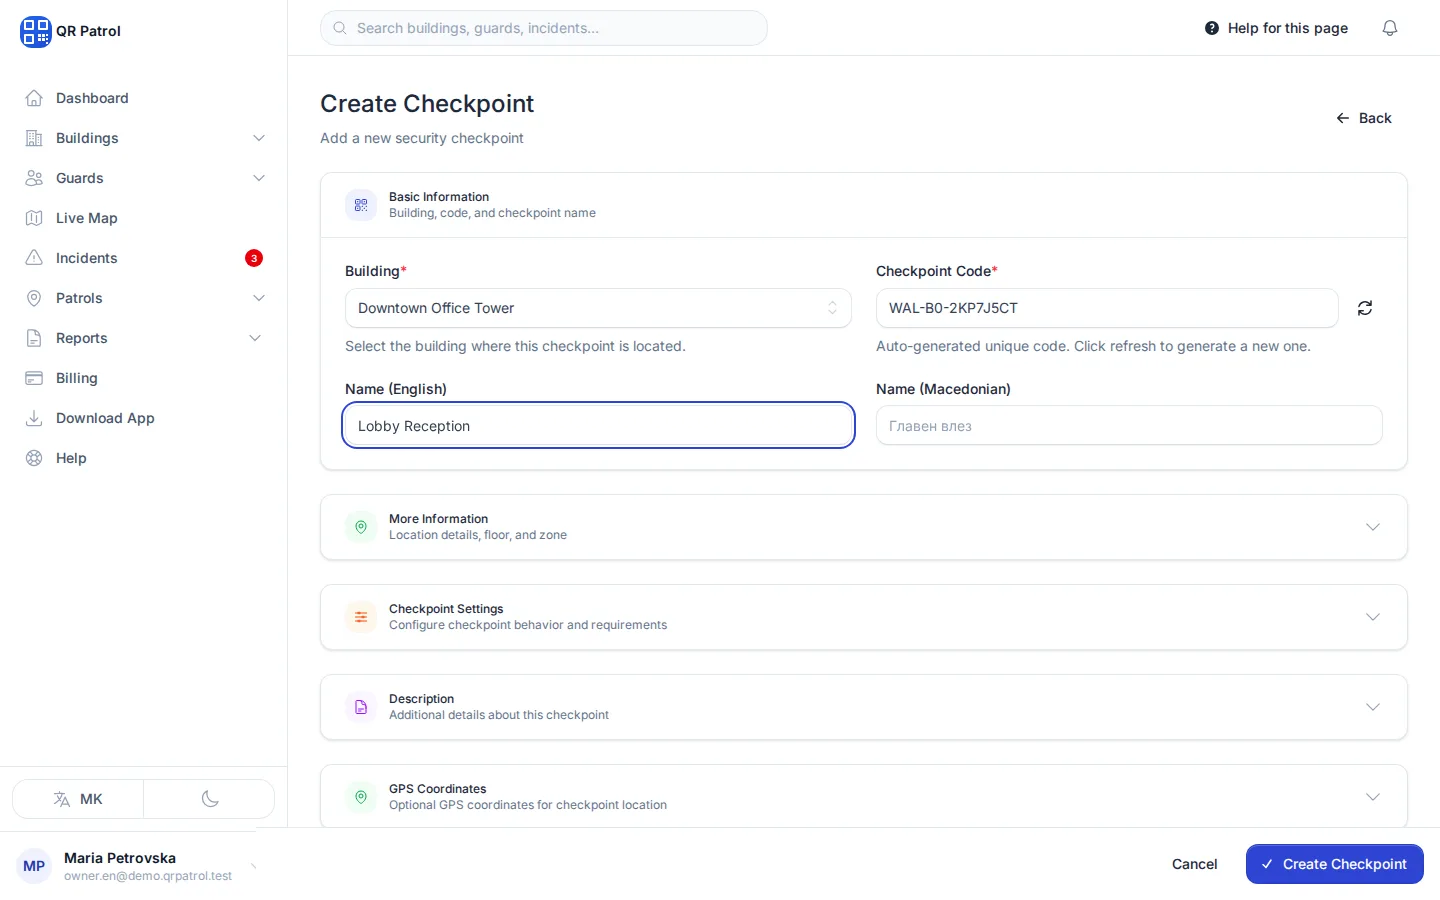
Enter the Name (English). This field is required.
-
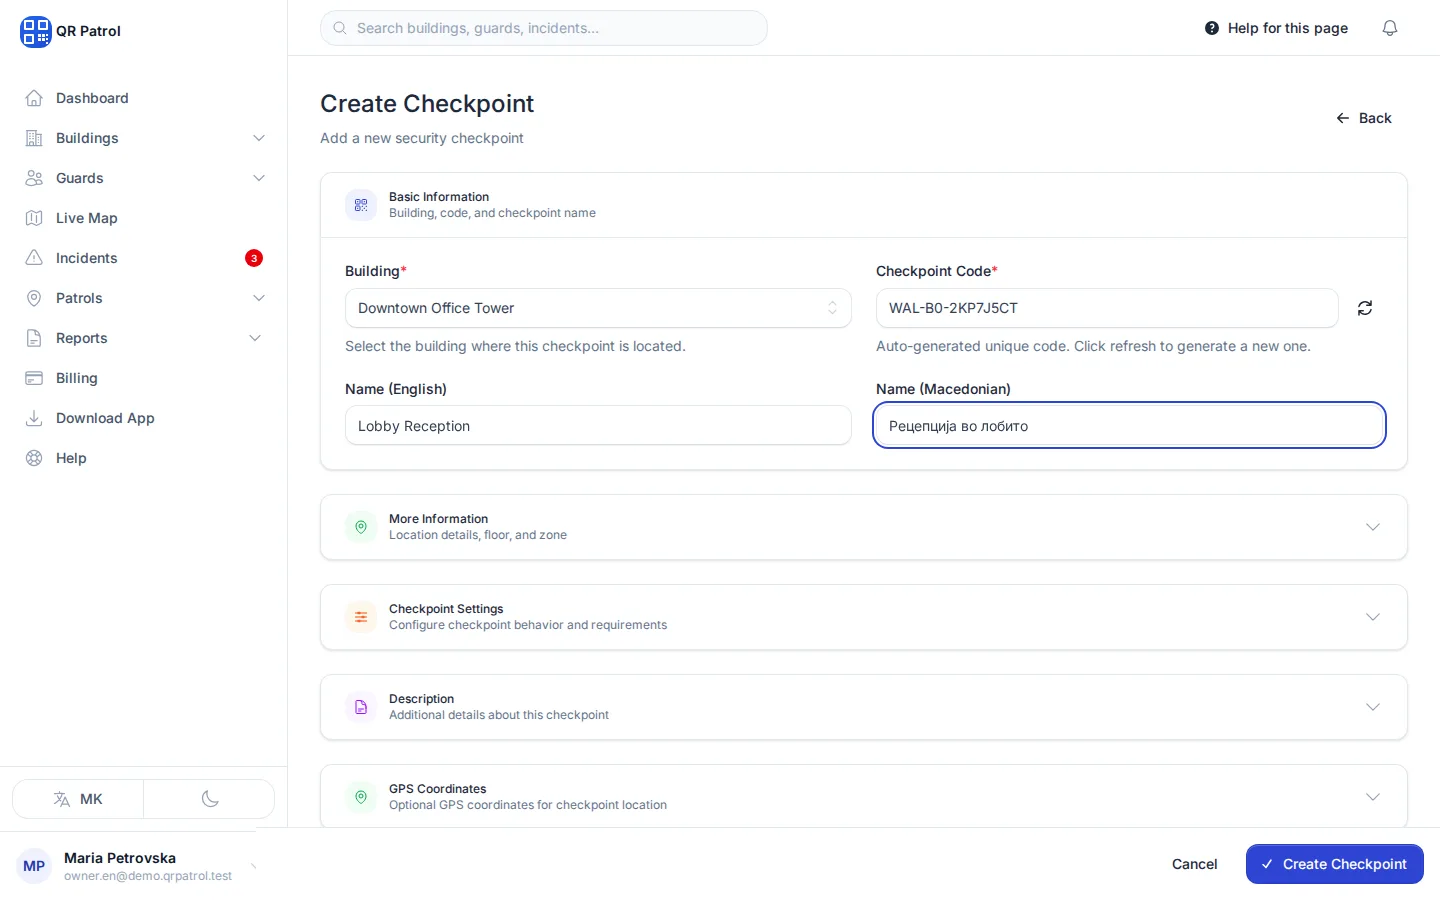
Optionally add the Name (Macedonian).
-
Click Create Checkpoint. The form opens again for the same building, ready for the next one.
-
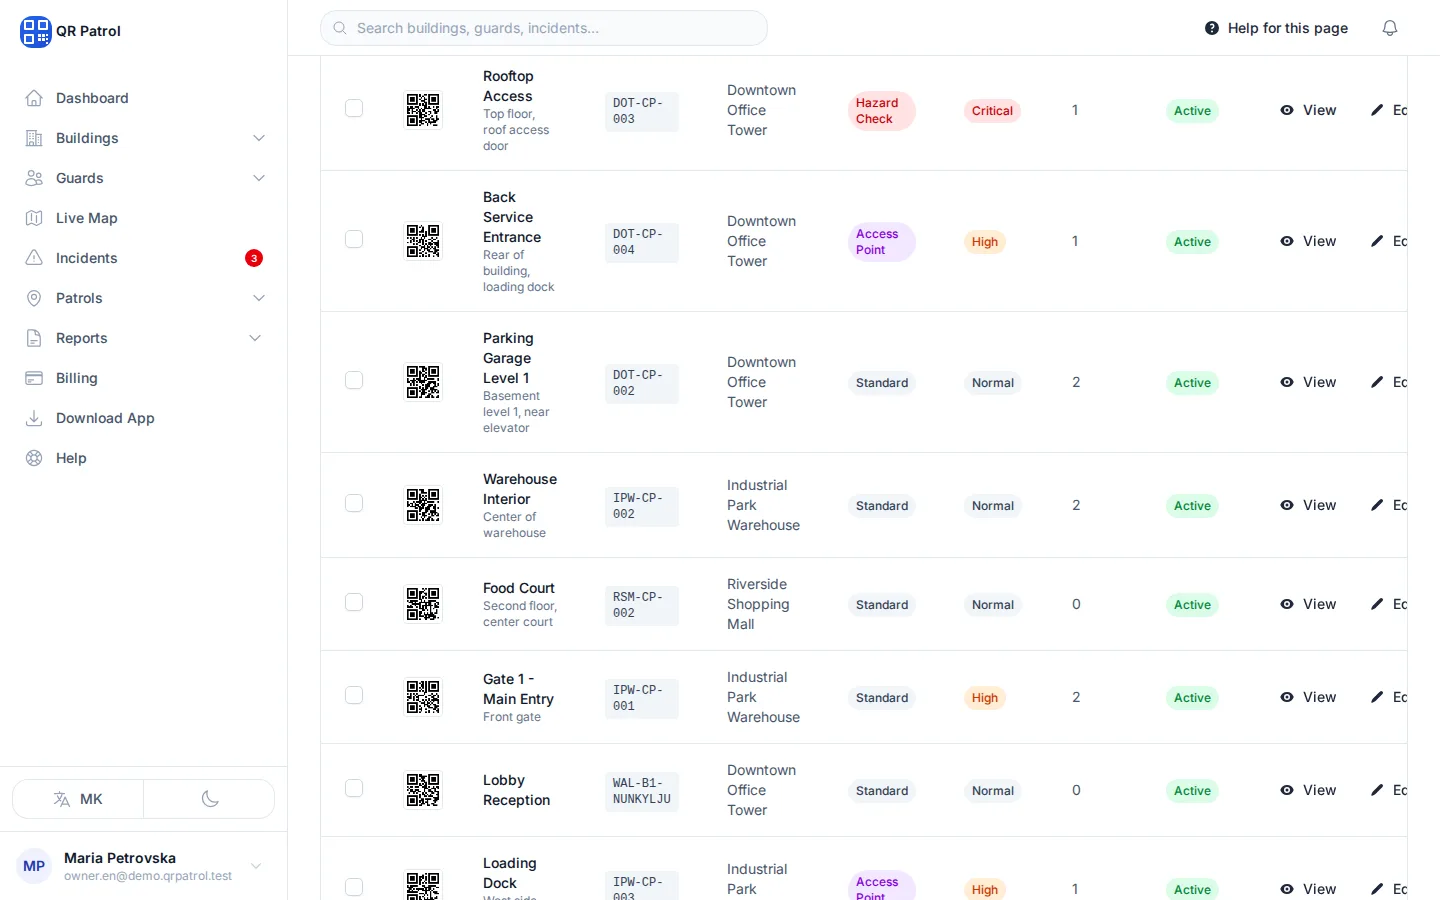
The new checkpoint is in the list, with its QR code in the QR column.
Add a checkpoint
- Open Checkpoints and click Create Checkpoint.
- Under Building, choose the building the checkpoint is in. Only active buildings are listed.
- Leave the Checkpoint Code as it is. QRPatrol fills it in with a unique code. To get a different one, click the refresh button next to it.
- Enter the Name (English). If your team uses the app in Macedonian, fill in Name (Macedonian) too.
- Click Create Checkpoint at the bottom of the screen.
The form opens again with the same building chosen, so you can add the next checkpoint straight away. When you're done, print the QR codes. See Print QR codes.
Add checkpoints from the building page
- Open Buildings and click View on the building.
- Click the Checkpoints tab.
- Click Add Checkpoint. The form opens with that building already chosen.
Add more detail
The form has four more sections. Click a section's title to open it.
- More Information: Location Description (English), Floor and Zone (English), plus Macedonian versions of the description and zone, to describe exactly where the spot is. The location description also shows under the checkpoint's name in the list.
- Checkpoint Settings: the Checkpoint Type and Priority, which you can filter the list by. Untick Active to mark the checkpoint inactive.
- Description: any longer notes about the checkpoint.
- GPS Coordinates: the Latitude and Longitude of the spot. When they are set, each scan is compared with this location, using the building's GPS settings. Without them, scans of this checkpoint are not location-checked.
Edit a checkpoint
- In Checkpoints, click Edit on the checkpoint's row.
- Change what you need.
- Click Update Checkpoint. You return to the checkpoint list.
Changing the code means reprinting
The QR code holds the Checkpoint Code. If you change the code, the sticker already on the wall no longer matches the checkpoint, and scans of it fail. Print and put up the new QR code straight away.
Find a checkpoint
Type in the search box above the list, or click Filters to narrow it by Building, Type, Priority or Status.
Change several checkpoints at once
- In Checkpoints, tick the box at the start of each checkpoint you want to change.
- In the bar that appears above the table, click an action: Activate, Deactivate, Move to building, Export CSV or Delete.
- Confirm in the window that opens. For Move to building, choose the new building there first.
Moved checkpoints keep their codes, so their printed QR codes keep working.
Delete a checkpoint
- In Checkpoints, click Delete on the checkpoint's row.
- Click Delete Checkpoint to confirm.
If you can't add another checkpoint
Every plan has a checkpoint limit. When you reach it, the form shows an error instead of saving. Upgrade under Billing to add more.
Related articles
- Add a building Create a building with its name, code and address, pin it on the map and record who the client is.
- Print QR codes Download a checkpoint's QR code as an image, print it and put it up where guards will scan it.
- Create a patrol route Build a route from a building's checkpoints, put them in the order guards should walk them and set how the route is patrolled.
- Scan checkpoints on patrol Start a patrol in the mobile app, scan the QR code at each checkpoint and end the patrol when you are done.