Incidents
Handle incidents
Review incidents your guards report, assign them, move them from open to resolved and log new ones yourself.
Updated October 5, 2026
On this page
Guards report incidents from the mobile app while they patrol, with photos and the spot where it happened. You can also log one yourself. Each incident then moves from Open to In Progress to Resolved or Closed while your team deals with it.
-
Every incident your guards report lands in Incidents, newest first, with its severity and status.
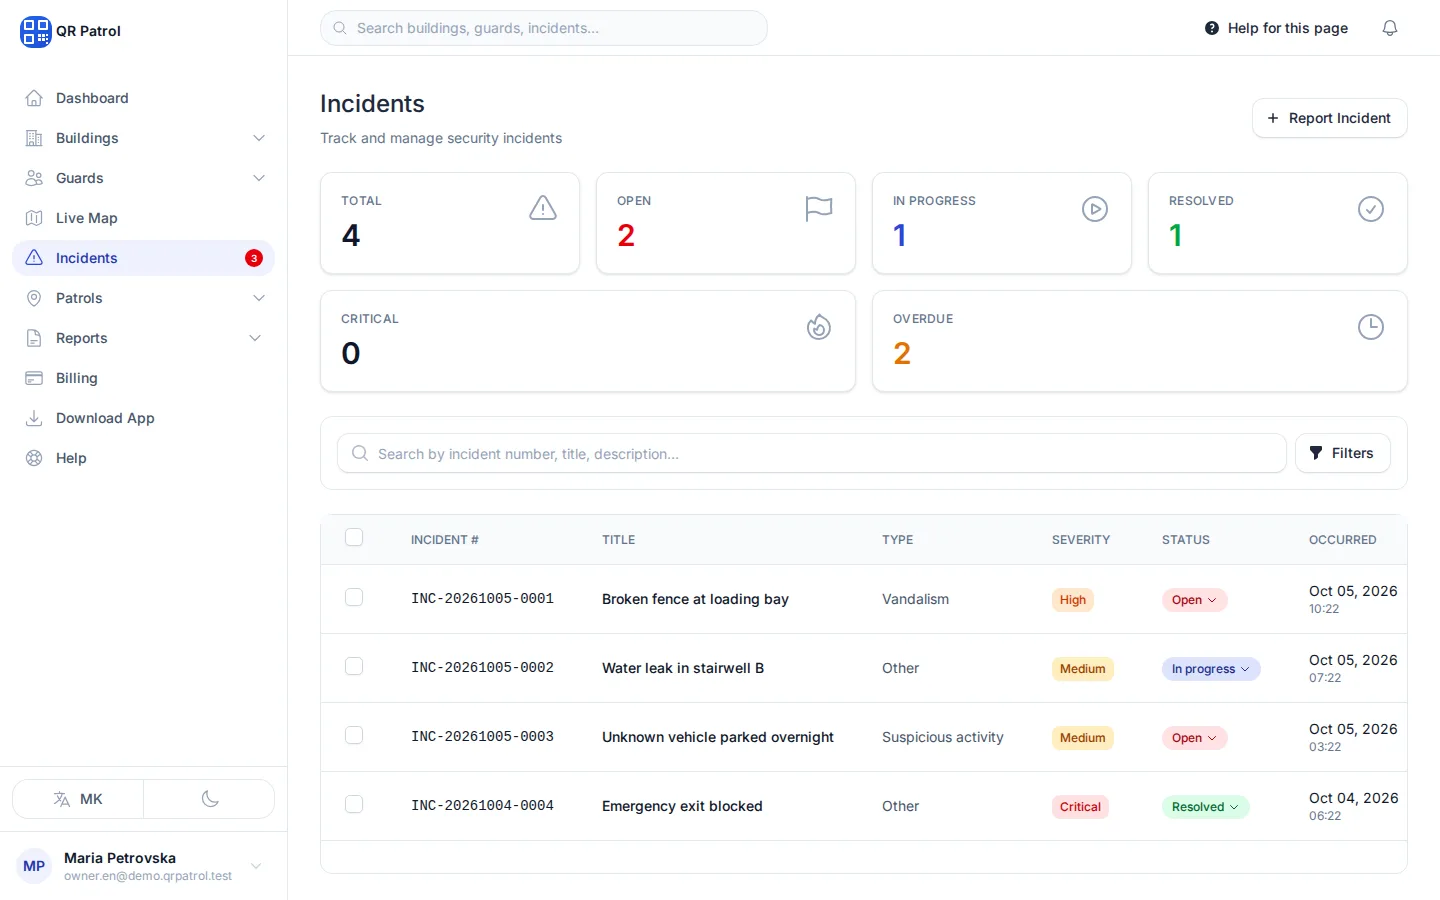
-
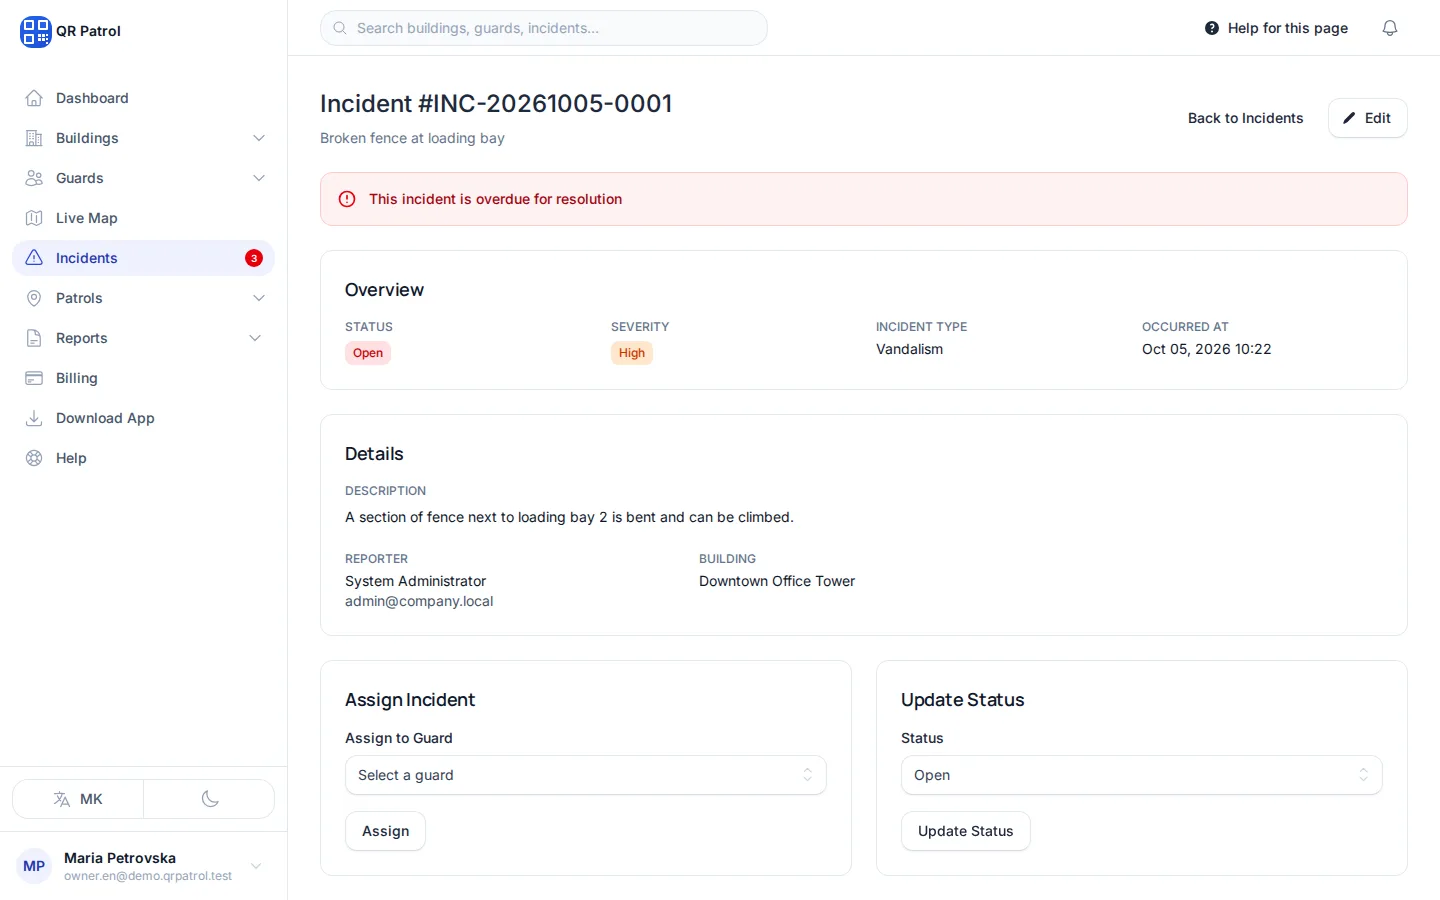
Click View to open an incident.
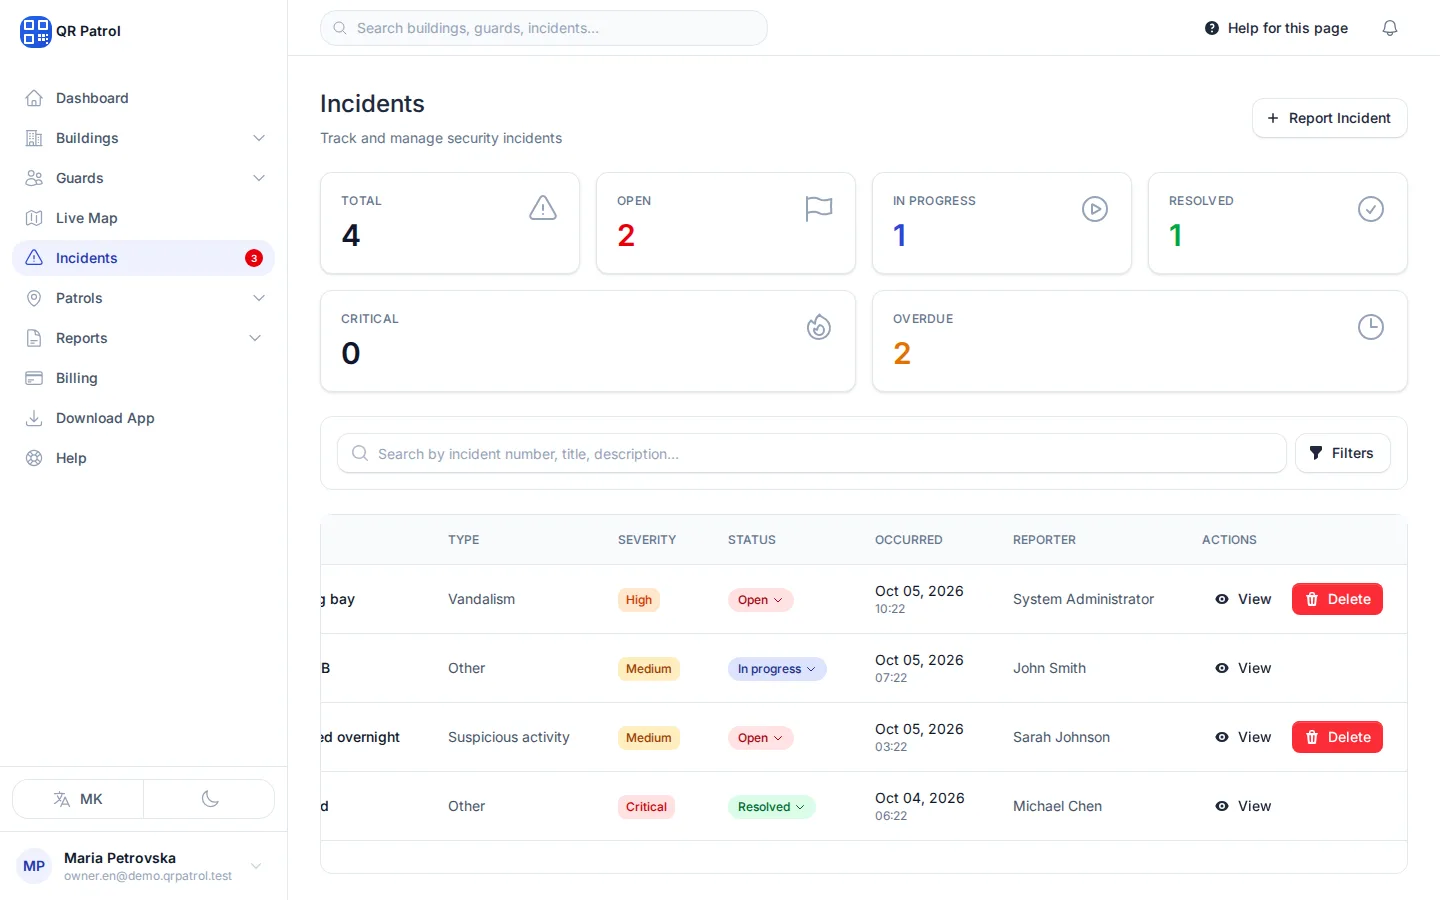
-
The Overview shows the status, severity, type and when it happened.
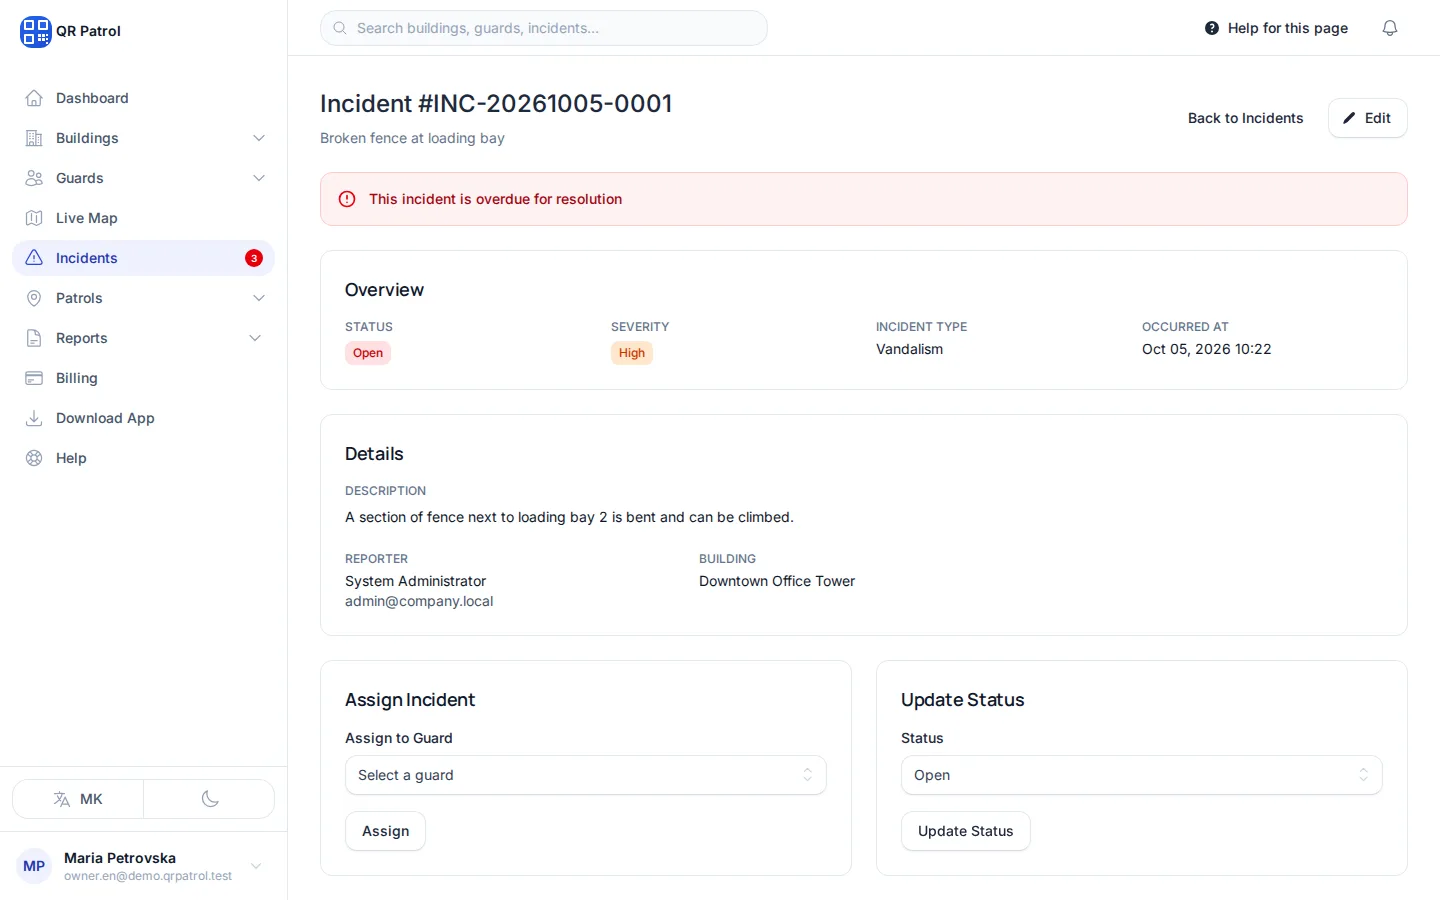
-
Under Details you find the description, the guard who reported it and the building.
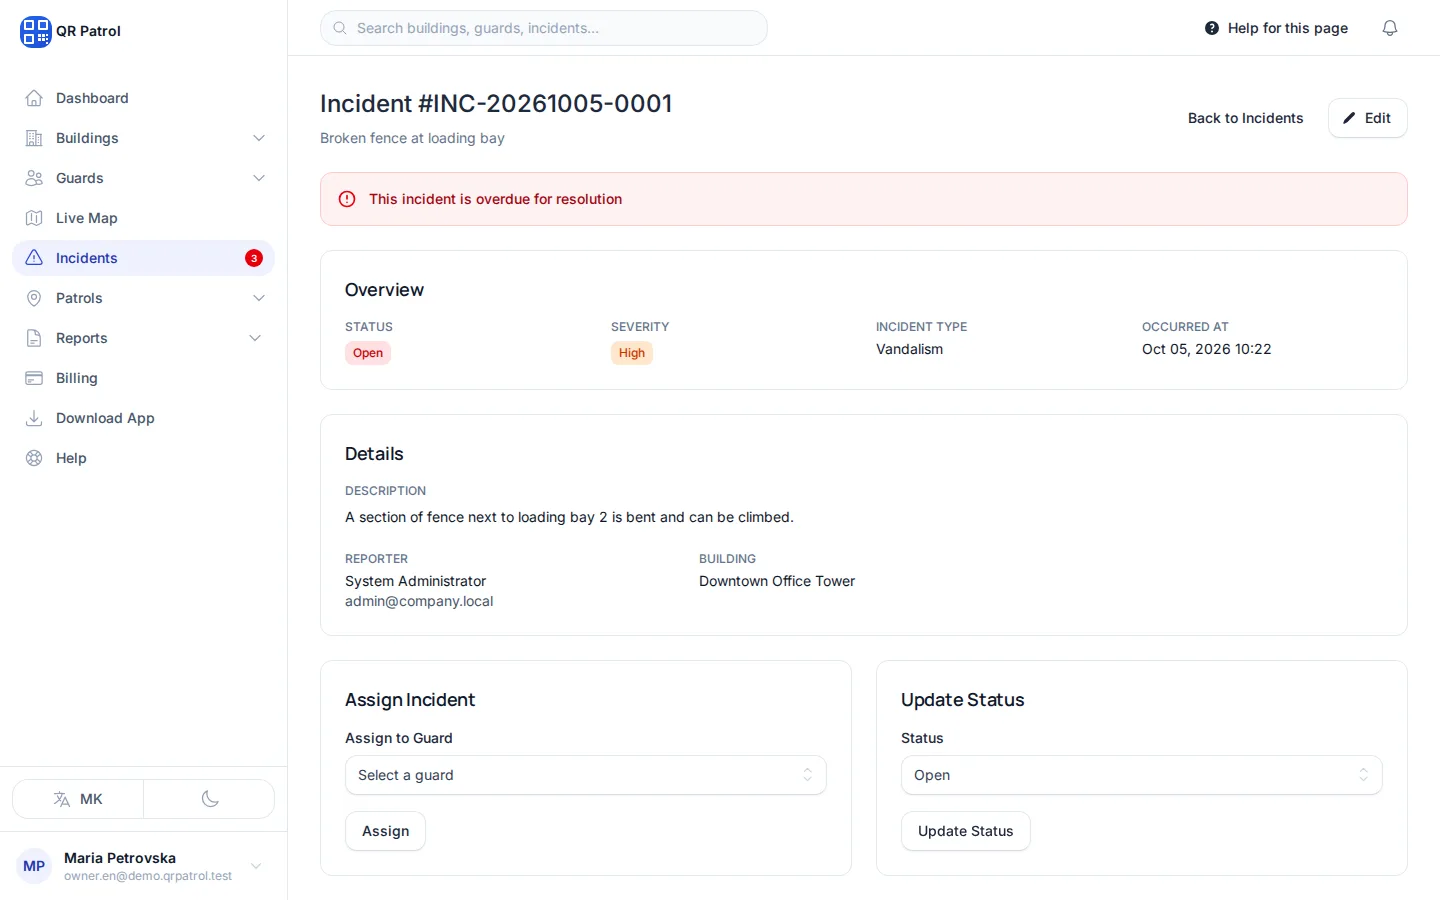
-
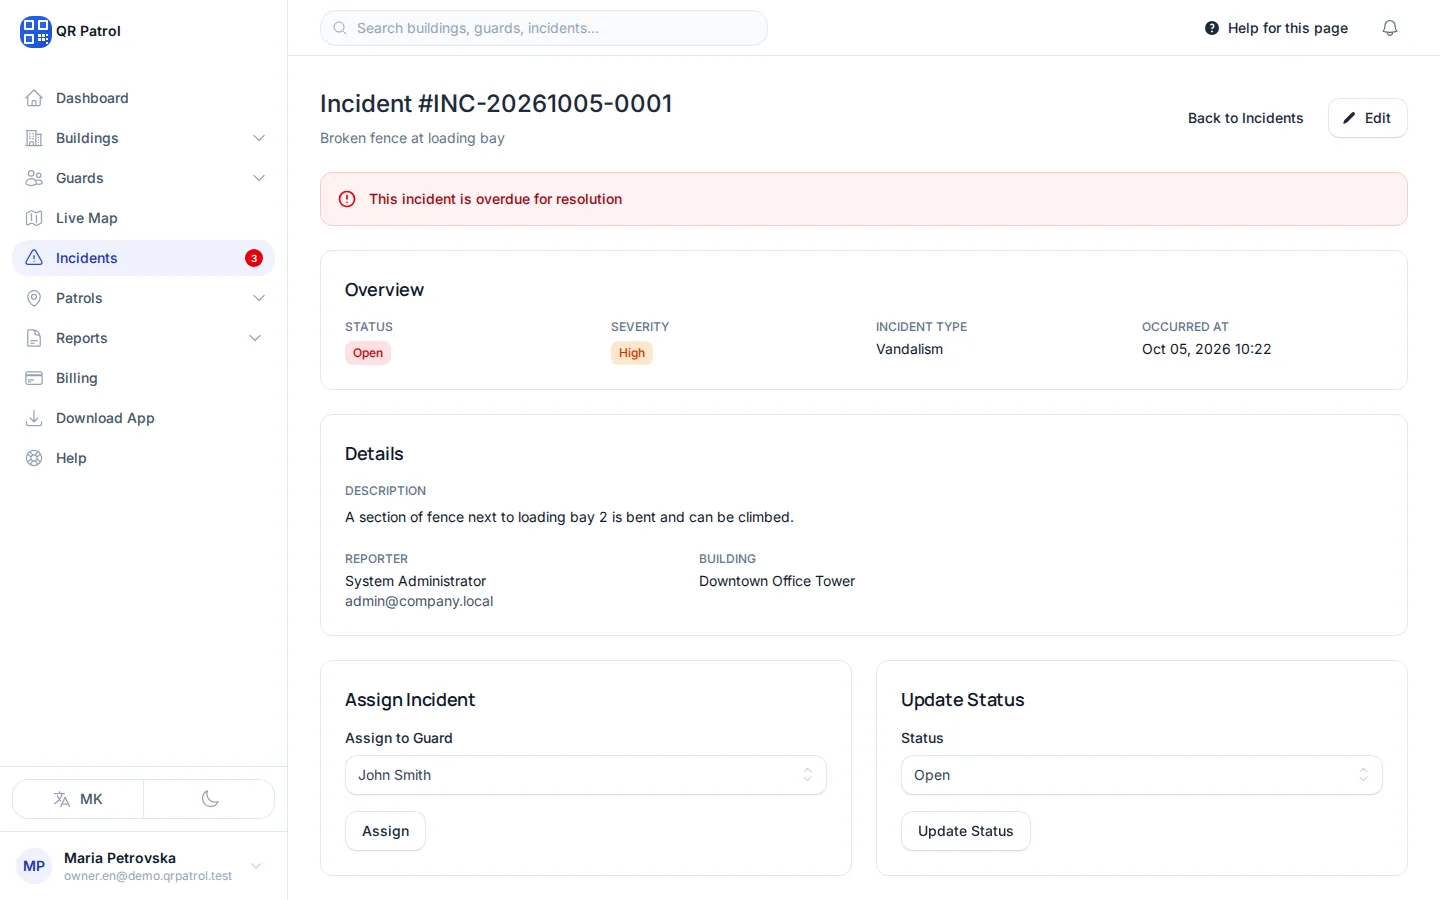
To hand it to someone, choose them in Assign to Guard.
-
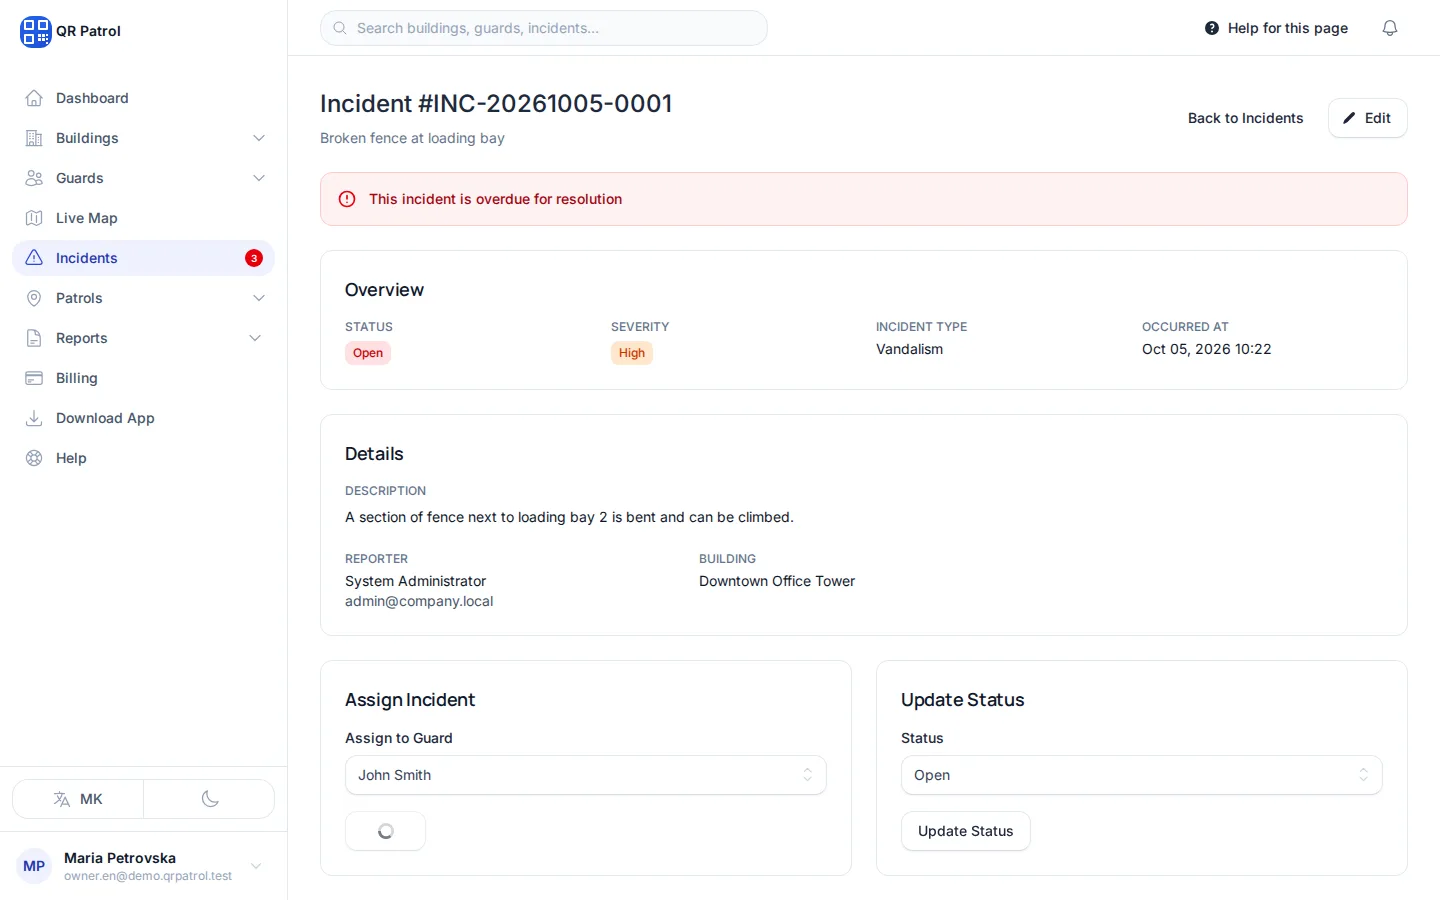
Click Assign.
-
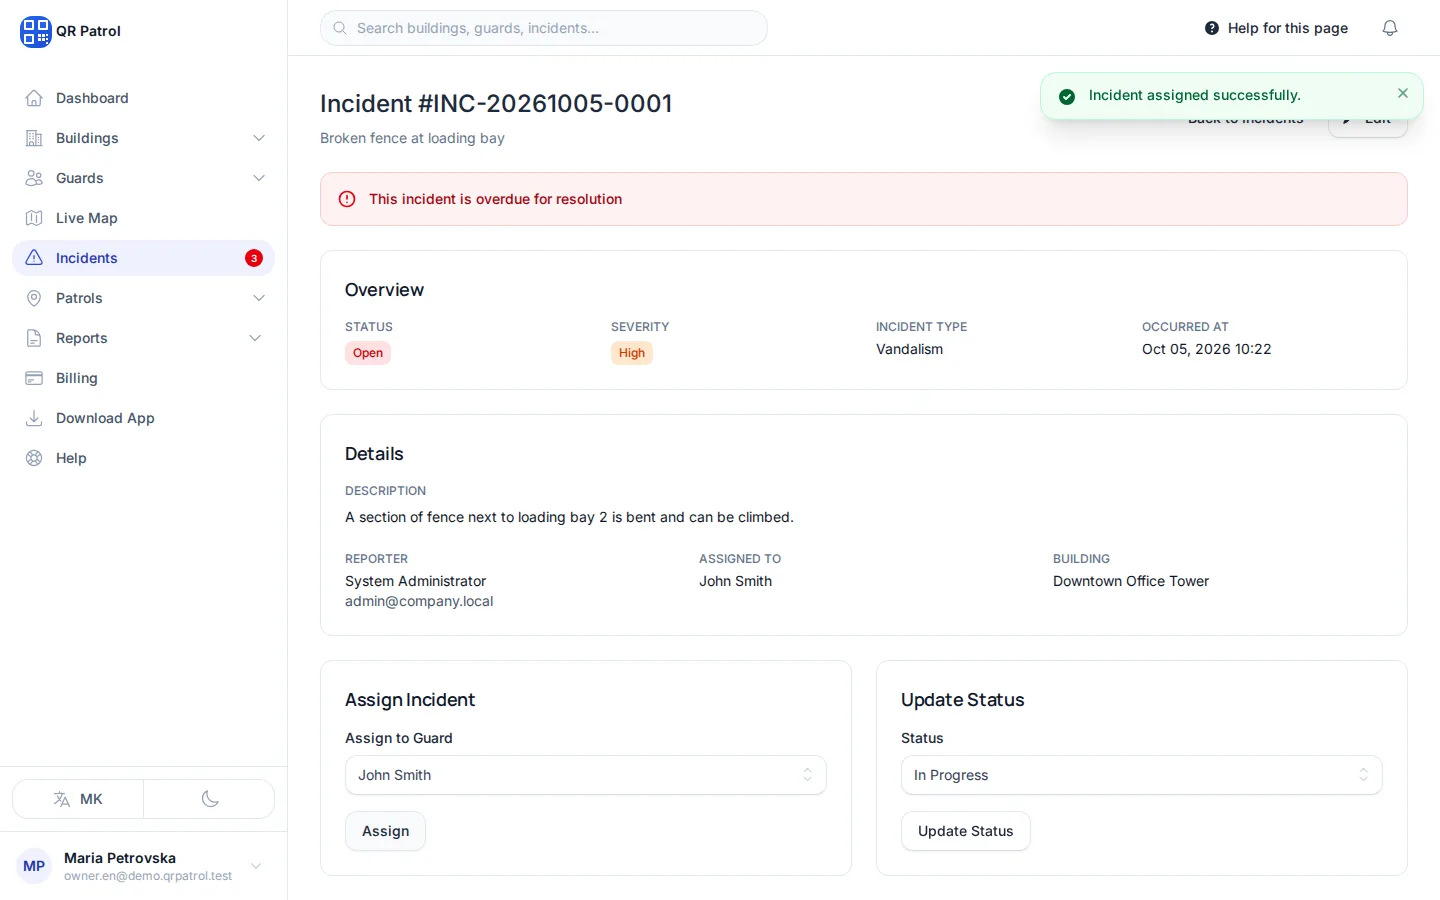
Once someone is working on it, set the Status to In Progress.
-
Click Update Status to save it.
Find an incident
- Open Incidents in the sidebar. The number next to it counts the incidents that are still open or in progress.
- Check the cards at the top: Open, In Progress, Resolved, Critical and Overdue.
- Type an incident number, title or a word from the description into the search box, or click Filters to narrow the list by building, checkpoint, reporter, type, severity, status, dates or whether it has photos or videos.
- Click View on the incident you want.
Review an incident
The incident page has everything the guard sent:
- Overview: the status, Severity, Incident Type and Occurred At.
- Details: the description, the Reporter, who it is Assigned To, the Building and checkpoint, and the GPS Coordinates if the phone captured them.
- Photos and Videos from the mobile app. Click a photo to see it full size and use the arrow keys to move between them.
- Timeline: when it was reported, assigned and resolved.
Assign it to a guard
- Under Assign Incident, choose a guard in Assign to Guard.
- Click Assign.
The guard's name shows under Assigned To and in the Timeline.
Change the status
- Under Update Status, choose a new Status.
- Click Update Status.
| Status | Use it when |
|---|---|
| Open | The incident has been reported and nobody is on it yet. |
| In Progress | Someone is dealing with it. |
| Resolved | The problem is fixed. QRPatrol records the time it was resolved. |
| Closed | You are done with it, whether or not it needed a fix. The time is recorded too. |
To change a status without opening the incident, click the status in the Status column of the list and pick the new one.
Overdue incidents
Each incident gets a deadline when it is reported, counted from Occurred At:
| Severity | Deadline |
|---|---|
| Critical | 4 hours |
| High | 24 hours |
| Medium | 72 hours |
| Low | 1 week |
An incident that is still open or in progress after its deadline shows a red "This incident is overdue for resolution" banner and counts towards Overdue on the list.
Log an incident yourself
Use this for something reported by phone or found during an inspection.
- On Incidents, click Report Incident.
- Under Basic Information, choose the Incident Type and Severity, check Occurred At and pick the guard in Reported By.
- Under Incident Details, fill in Title (English) and Description (English). Both are required. The Macedonian tab is optional.
- Under Location Information, choose the Building and then the Checkpoint, if it happened at one.
- Click Create Incident.
QRPatrol opens the new incident with the status Open. Photos and videos can only be added from the mobile app.
Edit or delete an incident
You can only edit or delete an incident while it is Open. Once someone has worked on it, it stays as part of the record.
- To edit, click Edit at the top of the incident page, change the details and click Update Incident.
- To delete, click Delete on its row in the list and confirm. This cannot be undone.
Change many incidents at once
Tick the boxes next to the incidents in the list. A bar appears where you can Set status, Set severity, Export CSV or Delete them. Delete only removes the ones that are still open.
Related articles
- Report an incident Report theft, damage, a medical emergency or anything else from the foot patrol screen, with photos, so your company sees it straight away.
- Generate a report Build a PDF, Excel or CSV report of scans, patrols, incidents and guard performance, then download it or email it to a client.
- Watch the live map Follow patrol cars, new incidents and your buildings on one map that refreshes on its own, and resolve incidents from it.